How Can You Ensure the Best Results When Using an A3/A4 Laminating Machine?
1. Choose the Right Laminating Pouch and Film
Selecting the correct laminating pouch or film is one of the most important factors in achieving a smooth and professional finish. A3 and A4 laminating machines work with different thicknesses of laminating pouches, typically measured in microns (e.g., 80-250 microns). The thickness you choose should depend on the type of document you're laminating and the level of durability you need. For example, if you're laminating a menu or an important document that will be frequently handled, a thicker pouch (e.g., 150 microns or more) will provide added protection and sturdiness.
Tip: Ensure the laminating pouch size is appropriate for your document. A3 laminating machines will accommodate larger documents (up to A3 size), while A4 laminating machines are suitable for smaller documents. Always use pouches that match the machine’s specifications.
2. Preheat the Laminating Machine Properly
Most laminating machines have a warm-up time during which the rollers and heating elements reach the appropriate temperature. Ensuring that the machine is fully preheated before inserting your document is crucial for achieving the best results. If you don't allow the machine to warm up adequately, the laminate may not bond well to the document, leading to wrinkles, bubbles, or uneven laminating.
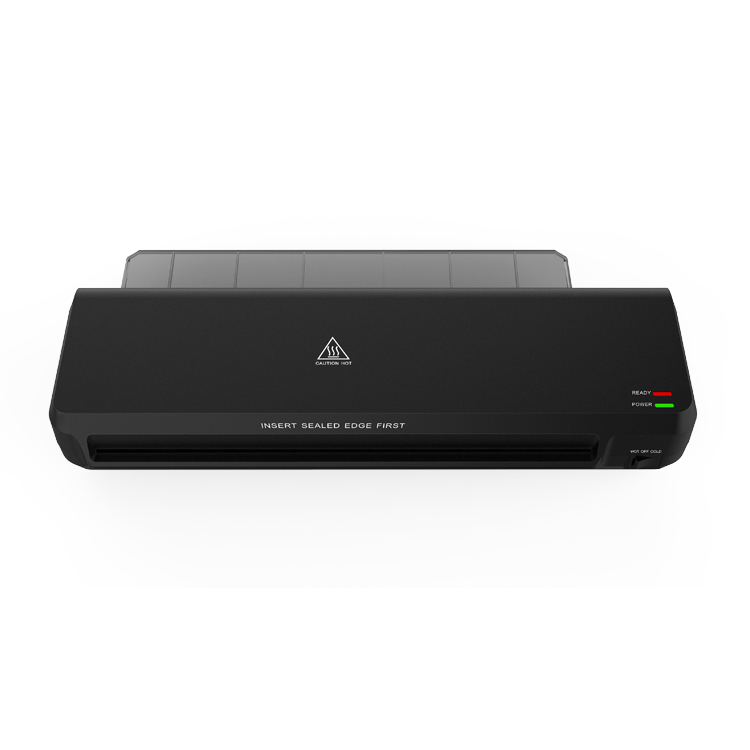
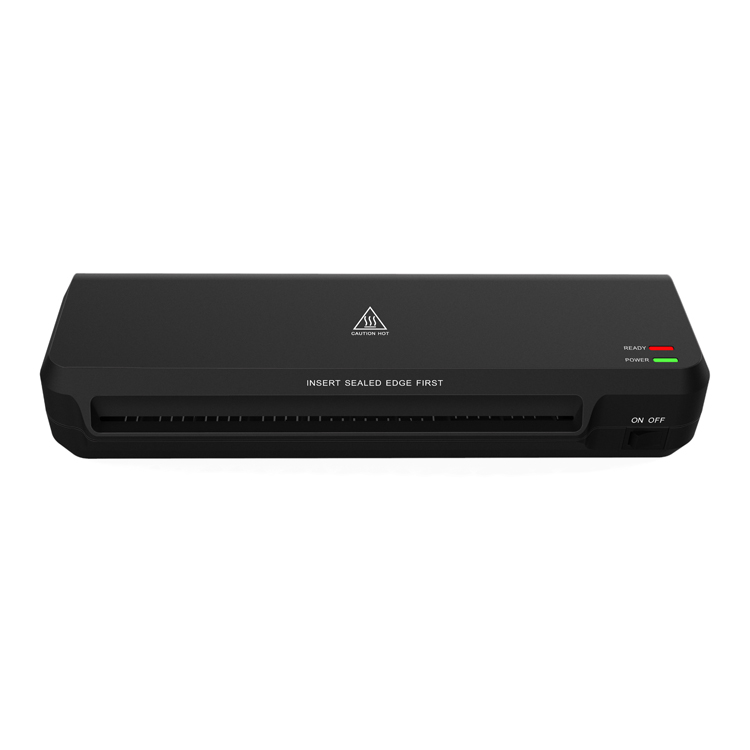
Tip: Always wait for the "Ready" light or indicator to signal that the machine has reached the correct temperature before you start laminating. The warm-up time can vary, but typically it takes between 3 to 10 minutes for the machine to be ready for use.
3. Adjust Temperature and Speed Settings Appropriately
Depending on the thickness of the laminating film and the type of paper you’re working with, you may need to adjust the temperature and speed settings on your A3/A4 laminating machine. Most modern machines allow you to set these parameters to suit the type of materials you're laminating. For example, thinner paper or lower micron pouches may require lower temperature and faster speed settings, while thicker materials or pouches may need a higher temperature and slower speed to ensure an even, secure seal.
Tip: Refer to the manufacturer’s guidelines to adjust settings for different types of laminating pouches. If your machine doesn’t have automatic settings, a trial run with a test piece can help you find the best settings.
4. Align the Document Properly Before Inserting It
Proper alignment of your document in the laminating pouch is essential to avoid any misalignment or trapping of air bubbles. Ensure that the document is centered and straight inside the pouch, leaving a small margin between the document edges and the laminate. Misaligned documents can cause wrinkling, jamming, or uneven lamination, and it can waste materials.
Tip: Use a flat, even surface to prepare the documents. If your document is not completely flat (e.g., curled or bent), gently flatten it out before inserting it into the laminating pouch. This ensures smooth lamination.
5. Use a Carrier Sheet to Protect the Machine
A carrier sheet is an optional accessory, but it's highly recommended for protecting both your document and the laminating machine. The carrier sheet is a protective layer that encases the laminating pouch, helping to keep the machine's rollers clean and free from adhesive buildup. It also reduces the chances of the document sticking to the machine and causing jams or damage.
Tip: If your laminating machine doesn’t come with a carrier sheet, you can create your own by using a clean, smooth sheet of paper to protect the laminate. Always check the manufacturer’s instructions to see if a carrier sheet is recommended.
6. Ensure the Document Is Fully Encased in the Laminating Pouch
Before inserting your document into the laminating machine, check that it is fully encased in the laminating pouch. Leaving any part of the document exposed can cause the machine to seal incorrectly, which may result in uneven lamination or the document becoming stuck in the rollers. The laminating pouch should extend a few millimeters beyond the edges of your document to ensure proper sealing.
Tip: If your pouch is too large for the document, trim the edges of the pouch to fit, but leave enough room around the document for a secure seal. Never laminate a document without full coverage on all sides.
7. Insert the Pouch Correctly into the Machine
When feeding the laminating pouch into the machine, ensure that the sealed edge enters the machine first. The sealed edge helps guide the pouch through the rollers, ensuring a smooth and even lamination process. Inserting the pouch incorrectly can result in jams or uneven lamination.
Tip: Always feed the pouch into the laminator slowly and steadily. Avoid forcing it, as this can lead to misfeeds or machine damage. If your machine has an auto-reverse feature, use it if you encounter a jam.

 English
 русский
 Español
 Deutsch
 عربى
عربى
 0
0

